
How to Enable Permissions for the DocScan on iOS?
To ensure DocScan works properly and offers full features, please follow the steps below to enable the necessary permissions.
How to Enable Permissions
-
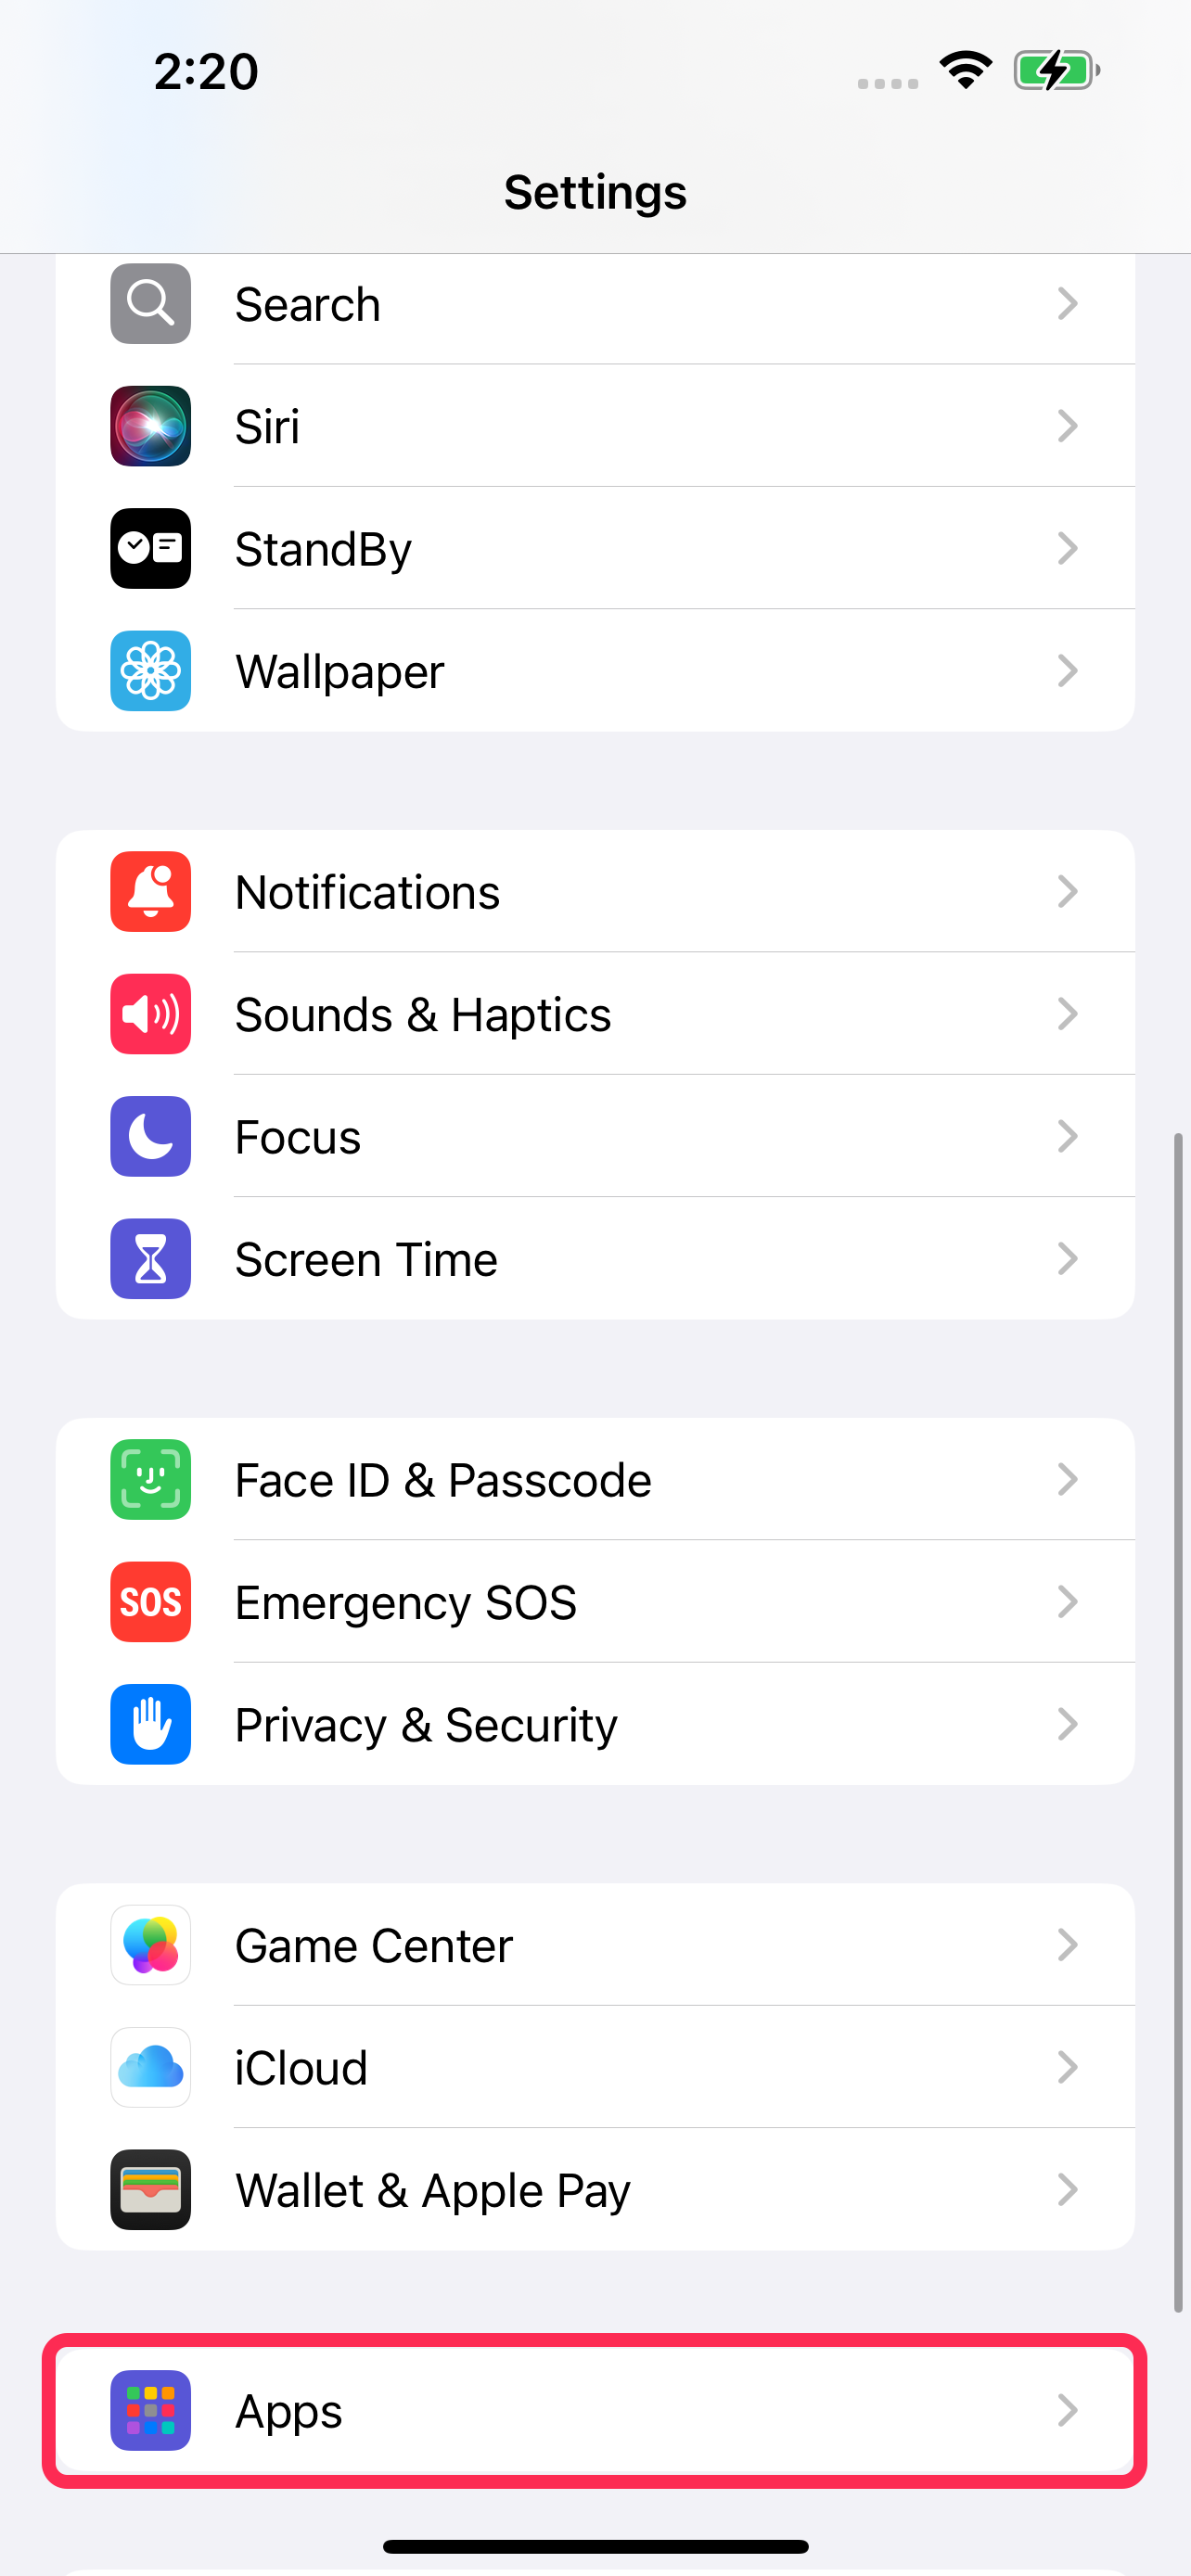
Open Settings on your iOS device.

-
Go to Apps.
-
Scroll down and tap DocScan or DocScan Pro.

-
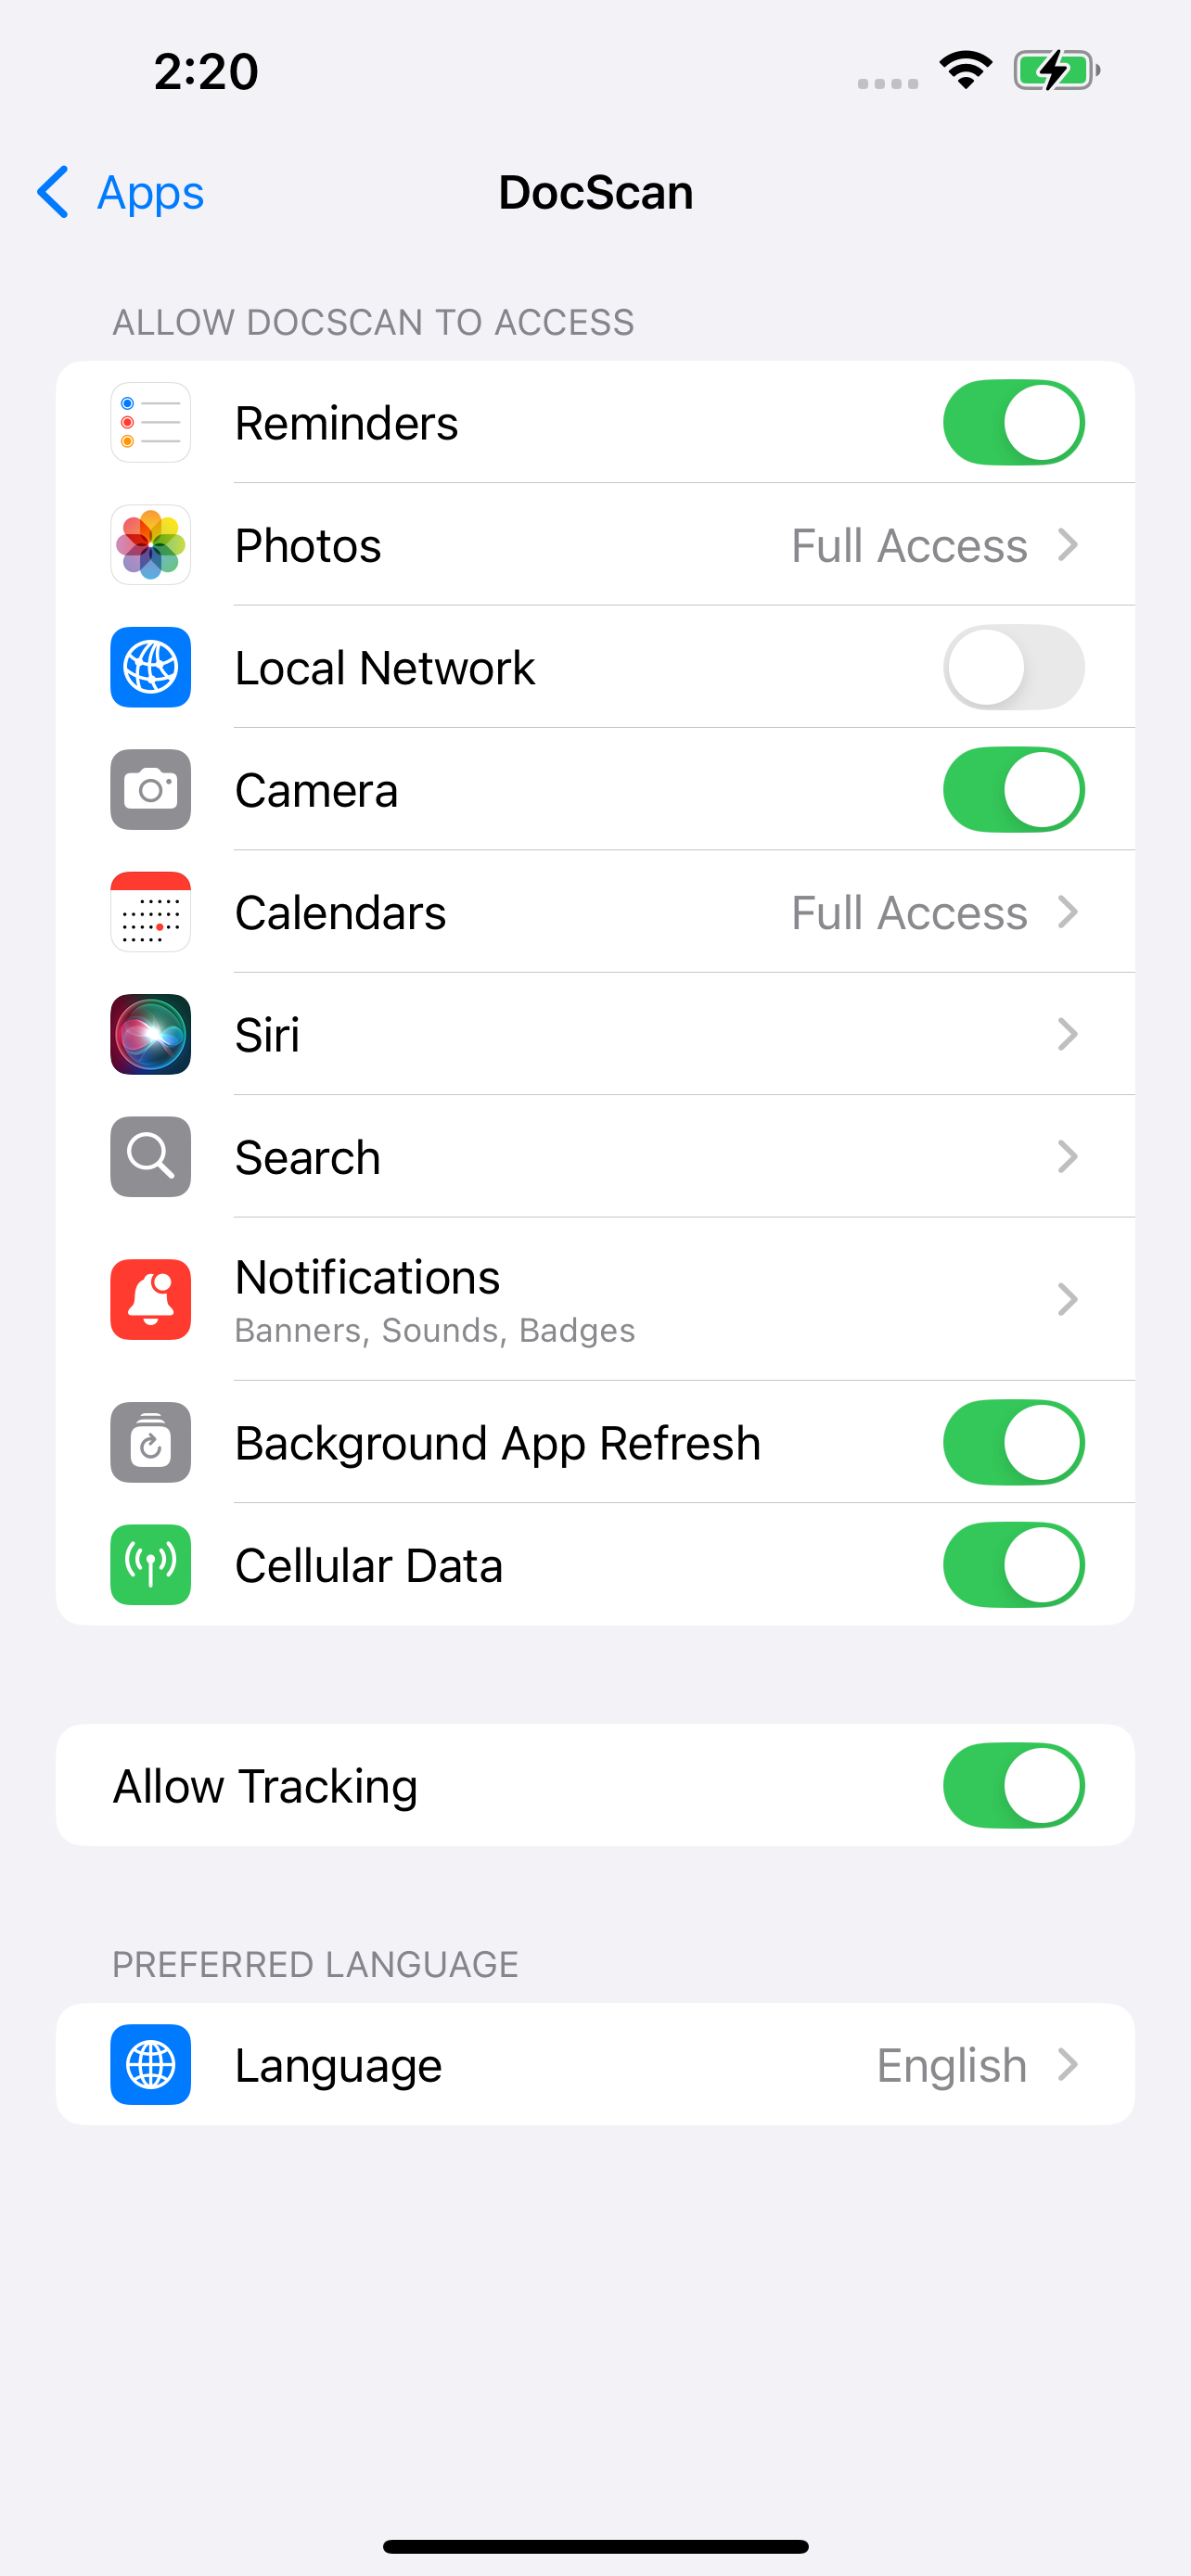
Turn on the permissions you want to allow.


Explanation of Each Permission
|
|
Camera | Enable this to allow DocScan to take photos or scan documents directly using your device’s camera. |
|
|
Photos | Allows DocScan to access your photo library so you can import and edit existing photos or videos. |
|
|
Local Network | Enables DocScan to communicate with devices on the same Wi-Fi network, such as printers or smart home devices. |
|
|
Notifications | Allows DocScan to send you important alerts, reminders, and updates. |
|
|
Cellular Data | Permit DocScan to use your mobile data for syncing, backing up, or accessing cloud services when Wi-Fi is unavailable. |
|
|
Background App Refresh | Allows DocScan to refresh content and perform tasks (like automatic backups or file processing) while running in the background. Keeping this enabled helps ensure data stays up to date and your experience remains seamless. |


Additional Tips
- The first time DocScan needs a permission, iOS will prompt you—tap Allow to grant access.
- You can revisit Settings > DocScan at any time to adjust permissions.
- For the best experience, we recommend using iOS 15 or later.